1. Basic Survival Tutorial
Getting started with Subnautica 2: oxygen management, crafting, and your first exploration.
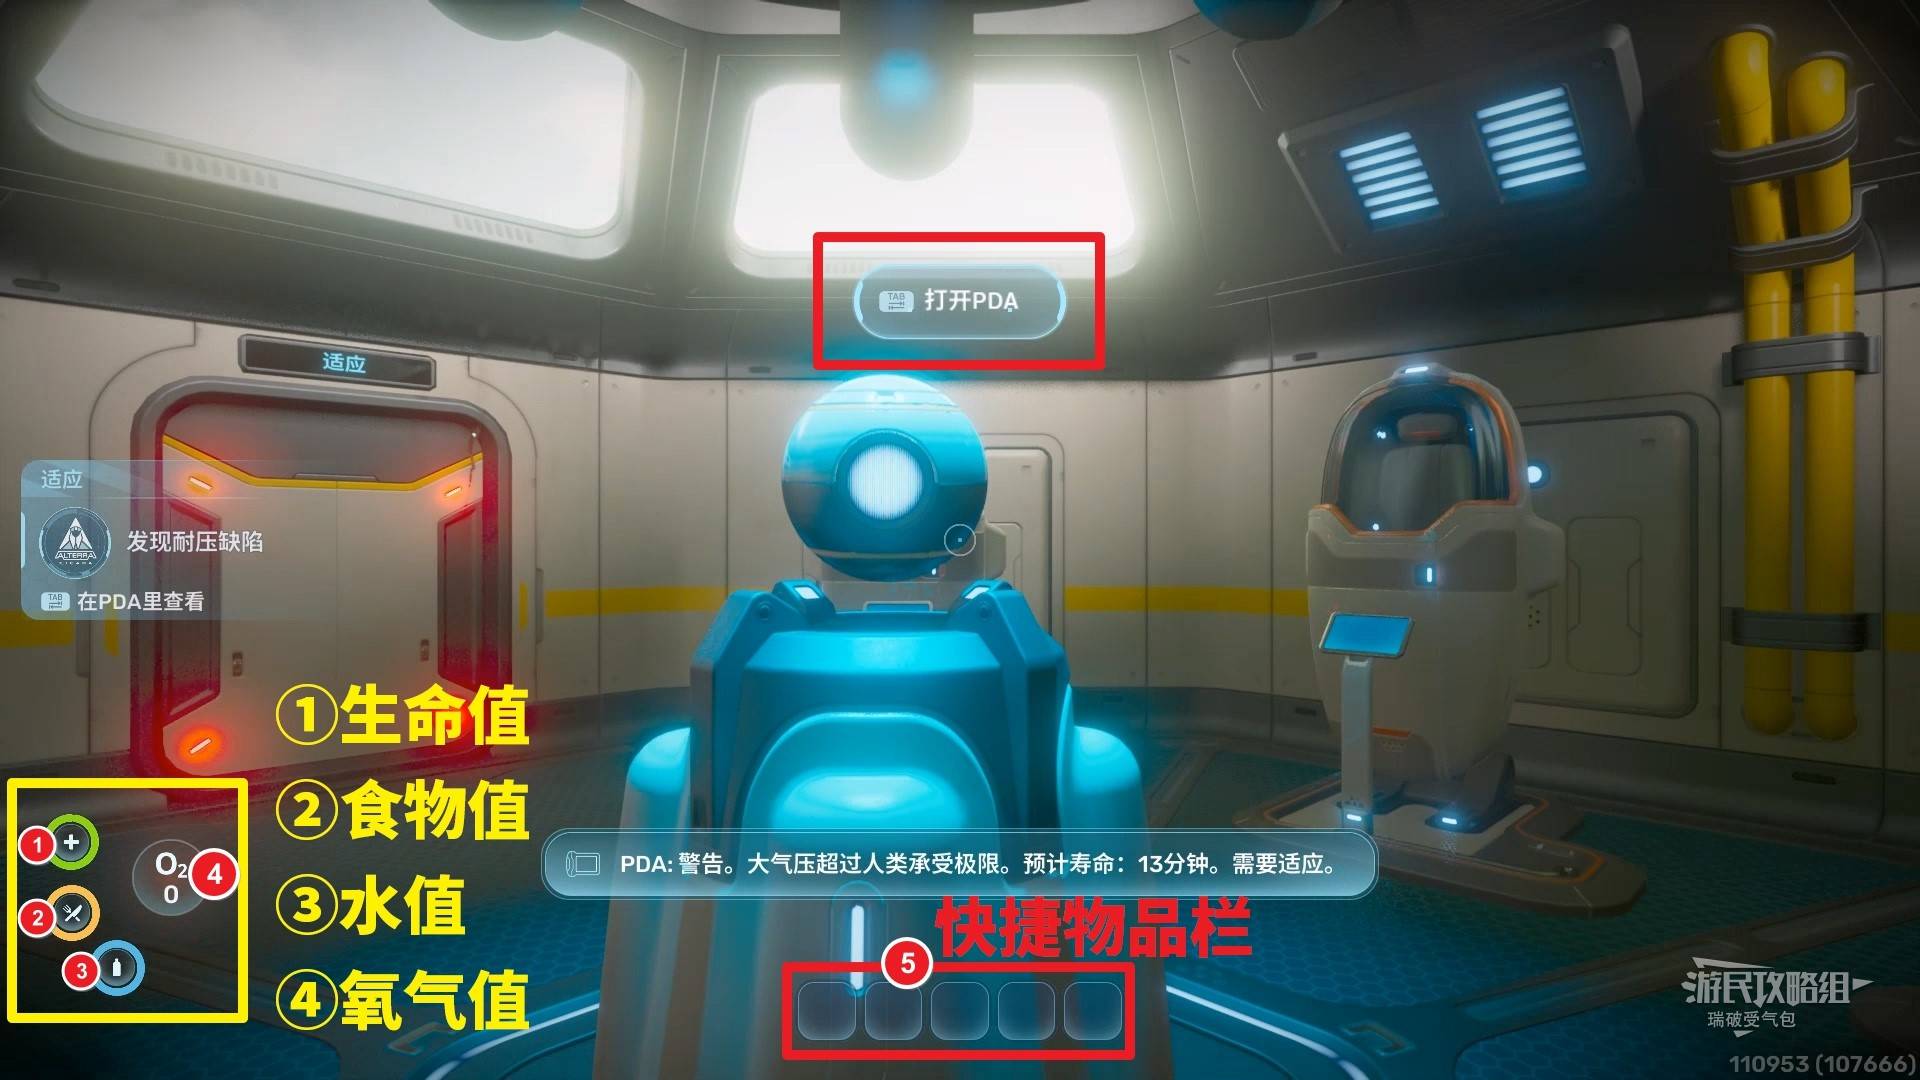
After starting a single-player game in Survival mode, the first task triggers automatically. Press TAB to open your PDA to check character status, inventory, signals, and more — this is your primary information hub.
The quick item bar is at the bottom center of the screen. Use number keys or the scroll wheel to switch items. Drag items from the PDA inventory to equip them.
Your HUD shows four vital stats from bottom-left: Health, Food, Water, and Oxygen. Letting any reach zero for too long will kill you.
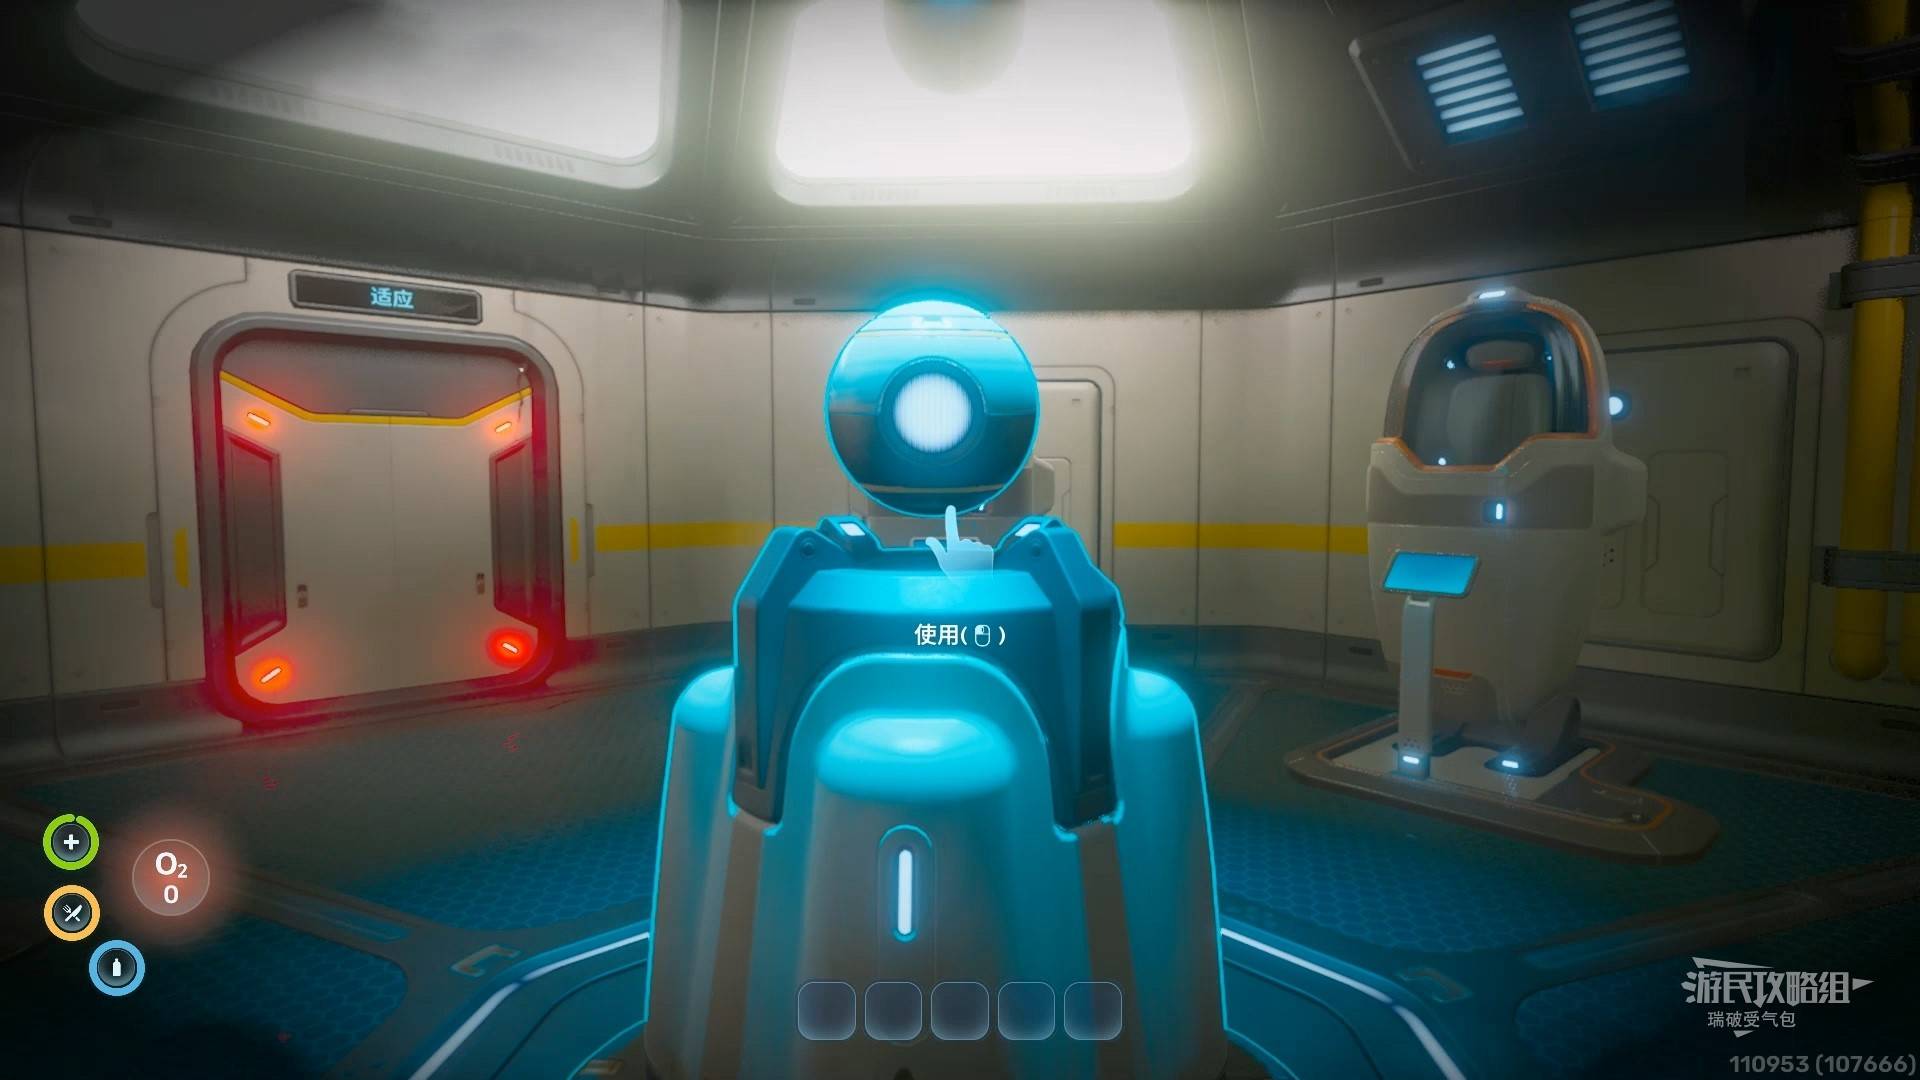
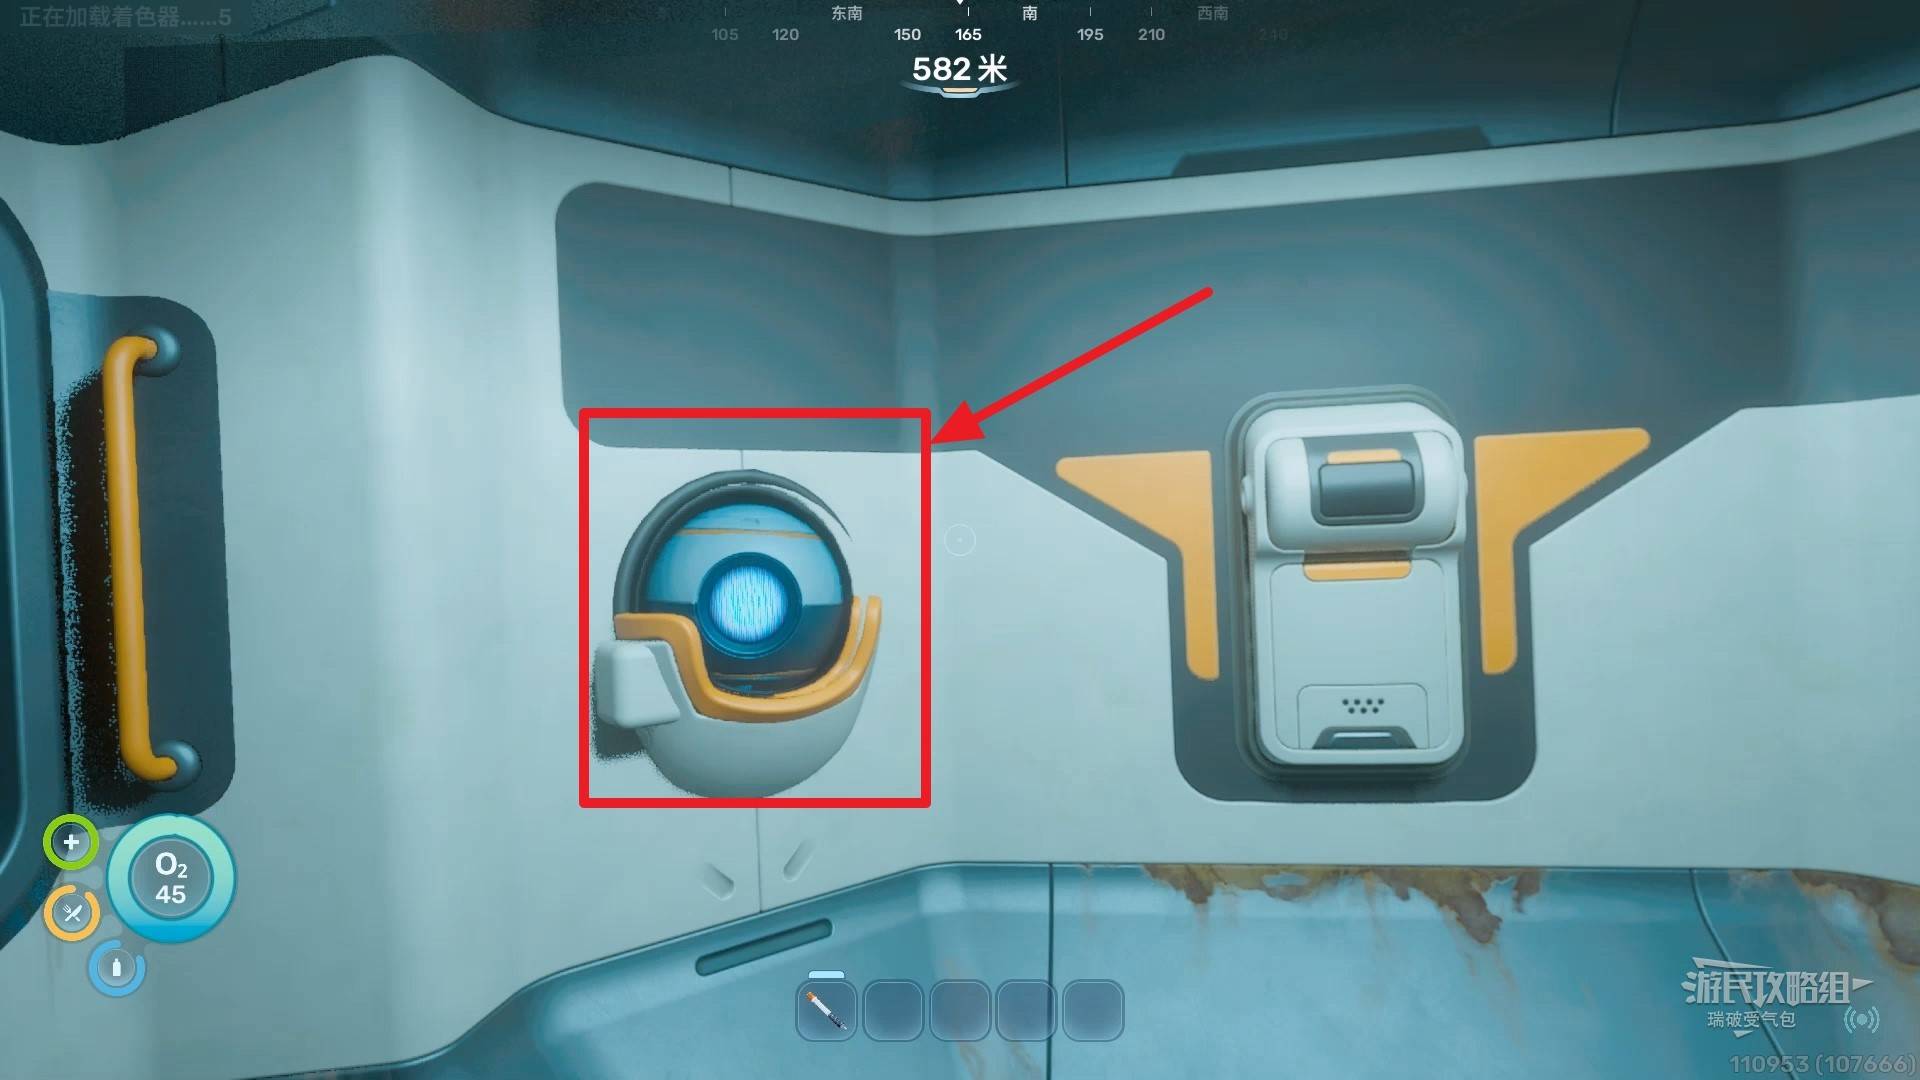
Interact with the spherical AI terminal (NoA) in front of you. Complete all dialogues or task guidance won’t update properly. All clues are recorded in the NoA system or PDA.
Click Start NoA → Download NoA Image.
Leave the lifepod through the door marked “Adaptation.”
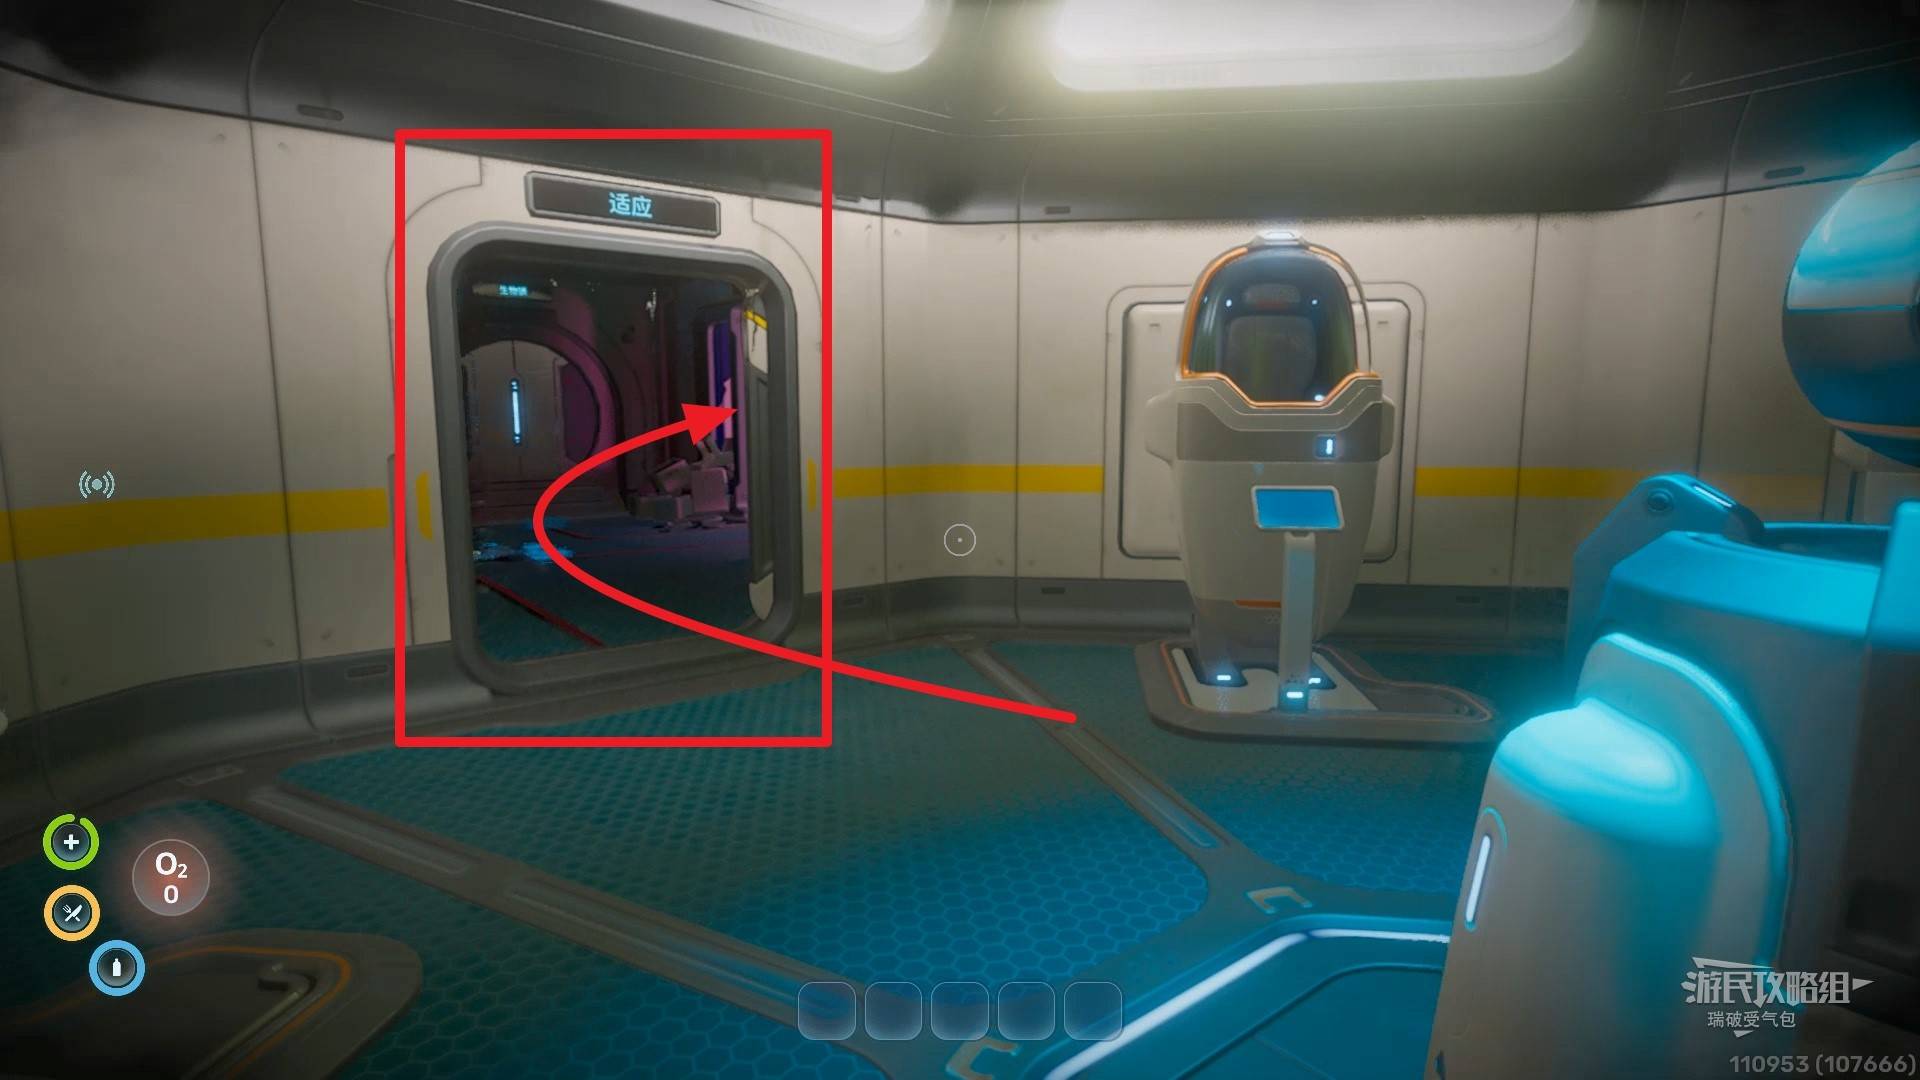
In the next room, there are two doors. The one marked “Biolock” cannot be opened yet. First, go to the Sampling Booth on the right.
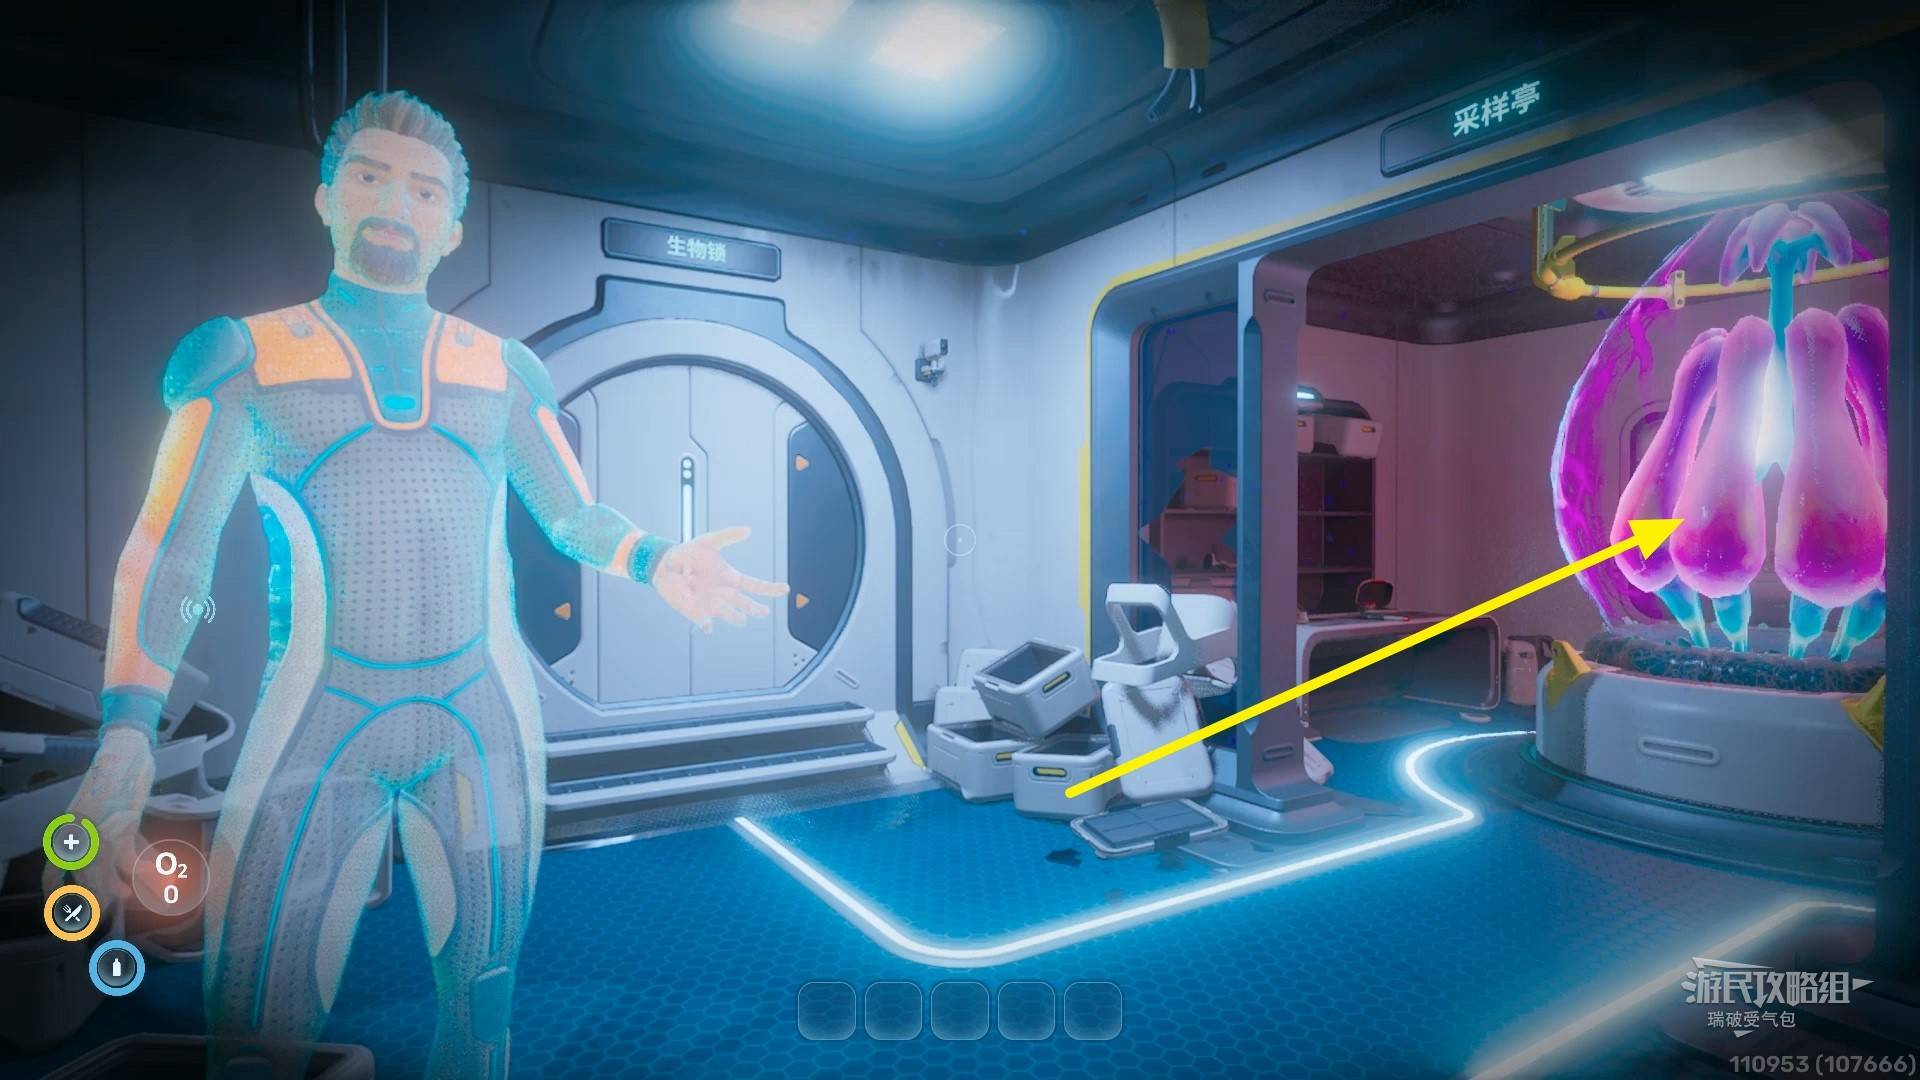
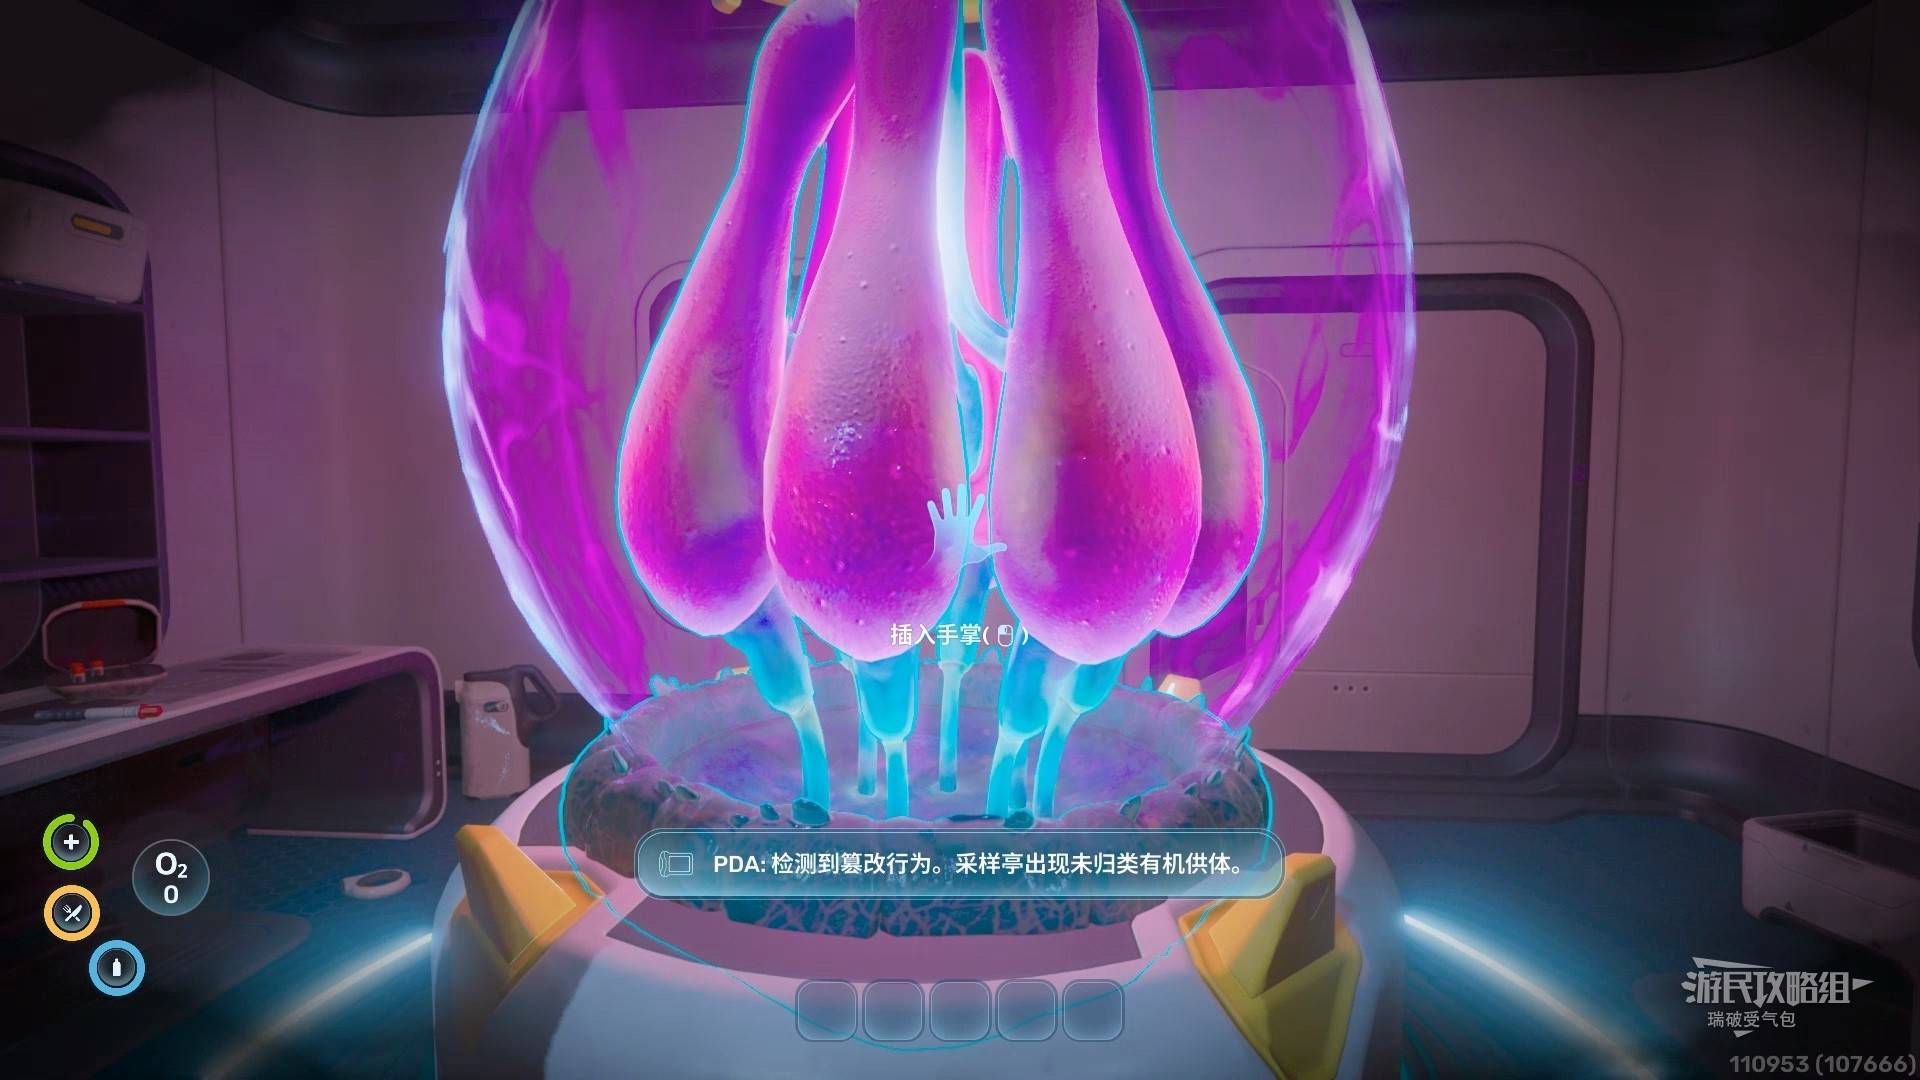
Approach the purple creature and insert your hand into the sampling port to gain Pressure Adaptation. You can now freely move at depths up to 600m without decompression sickness.
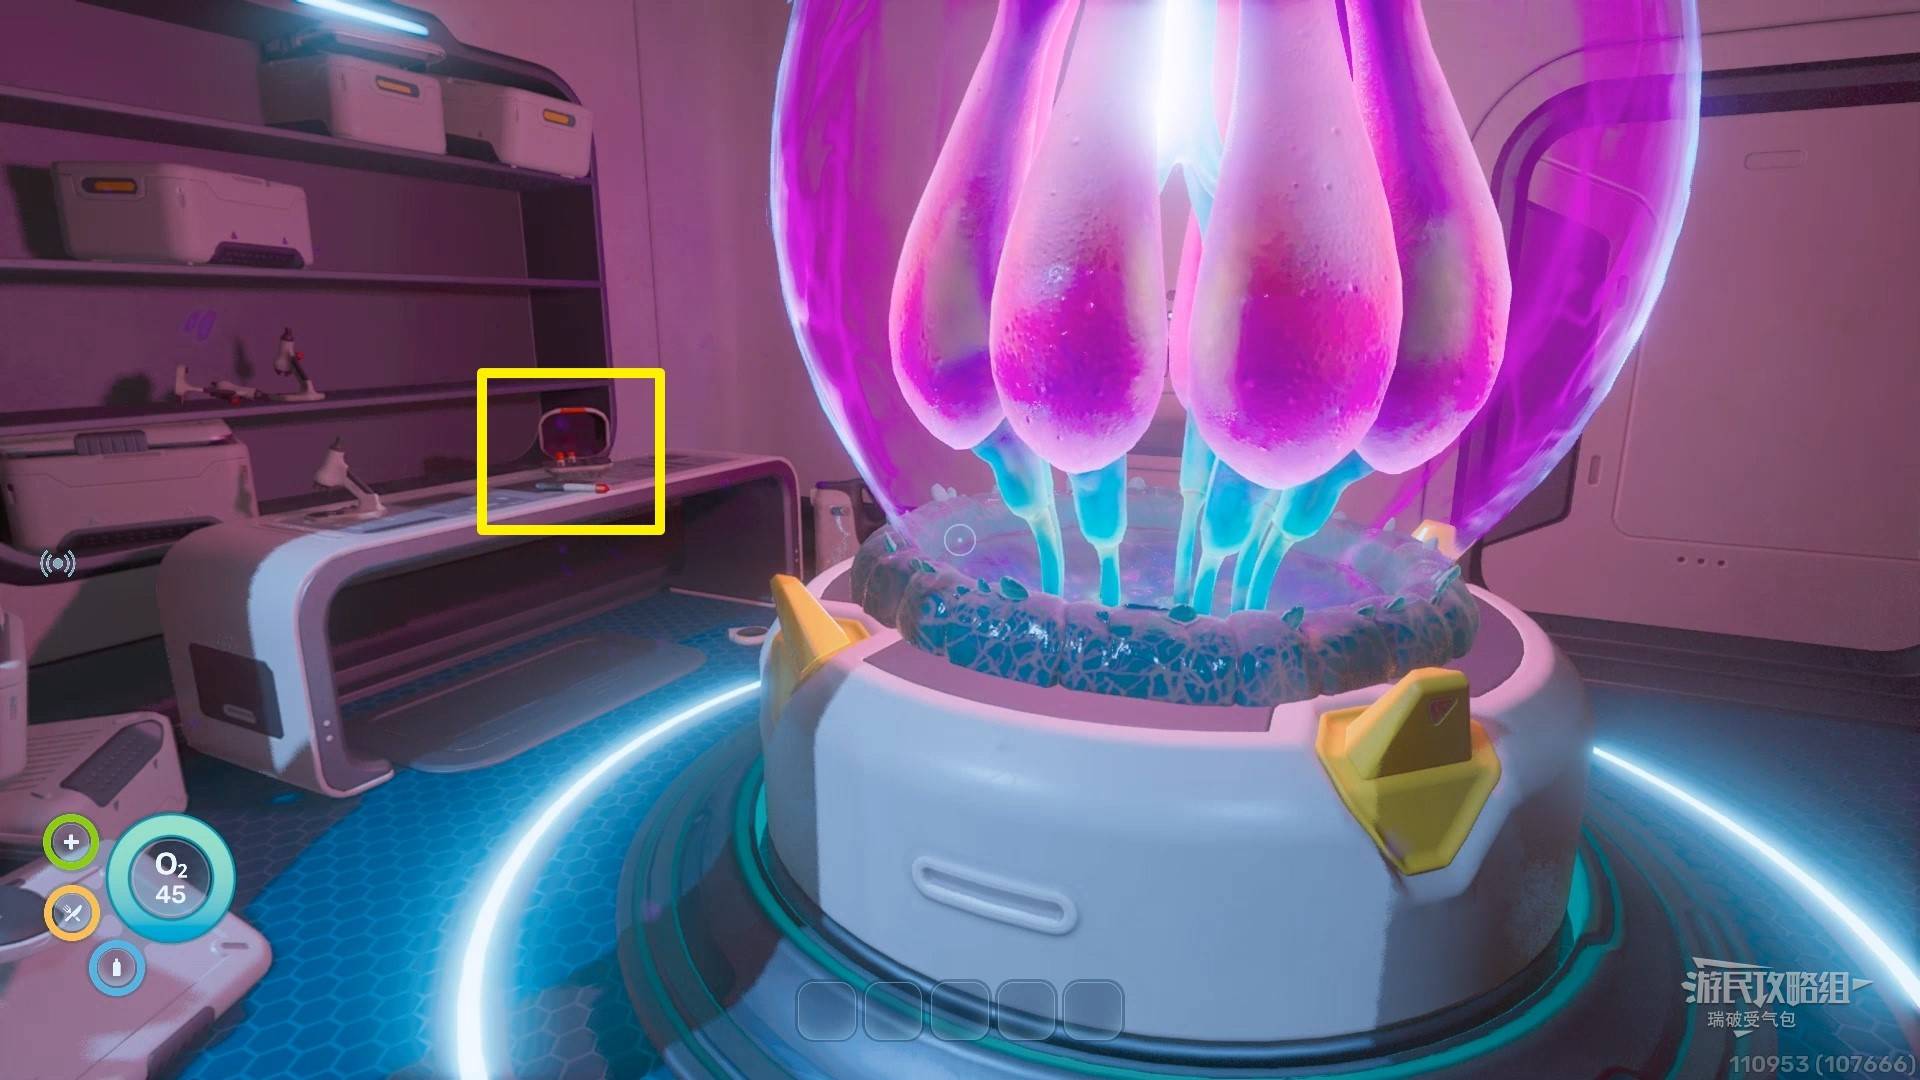
Pick up the Decoy Flare from the table on the left side of the purple creature.
Enter the “Biolock” door and interact with the yellow button in the corridor.
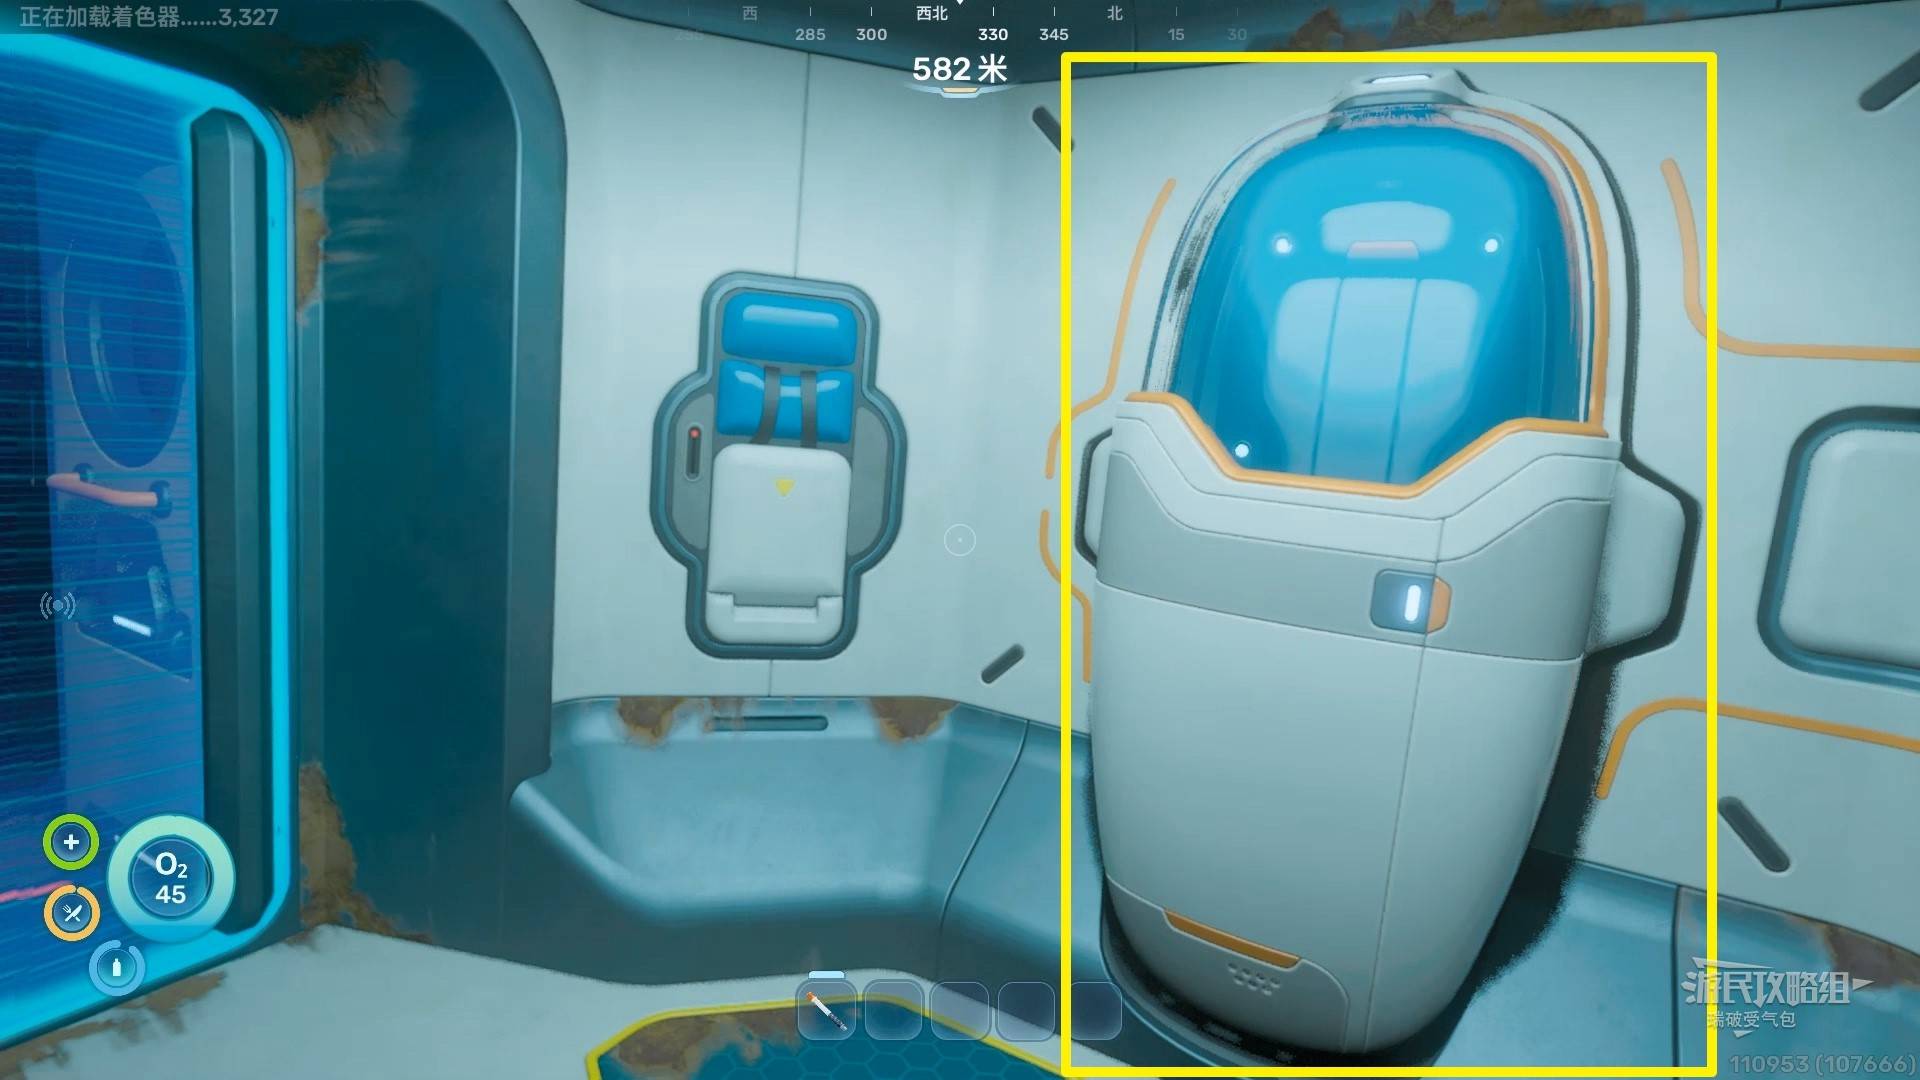
Enter the next door. Pick up the Basic Medkit from the box on the right, then interact with the red lever on the cryopod next to it.
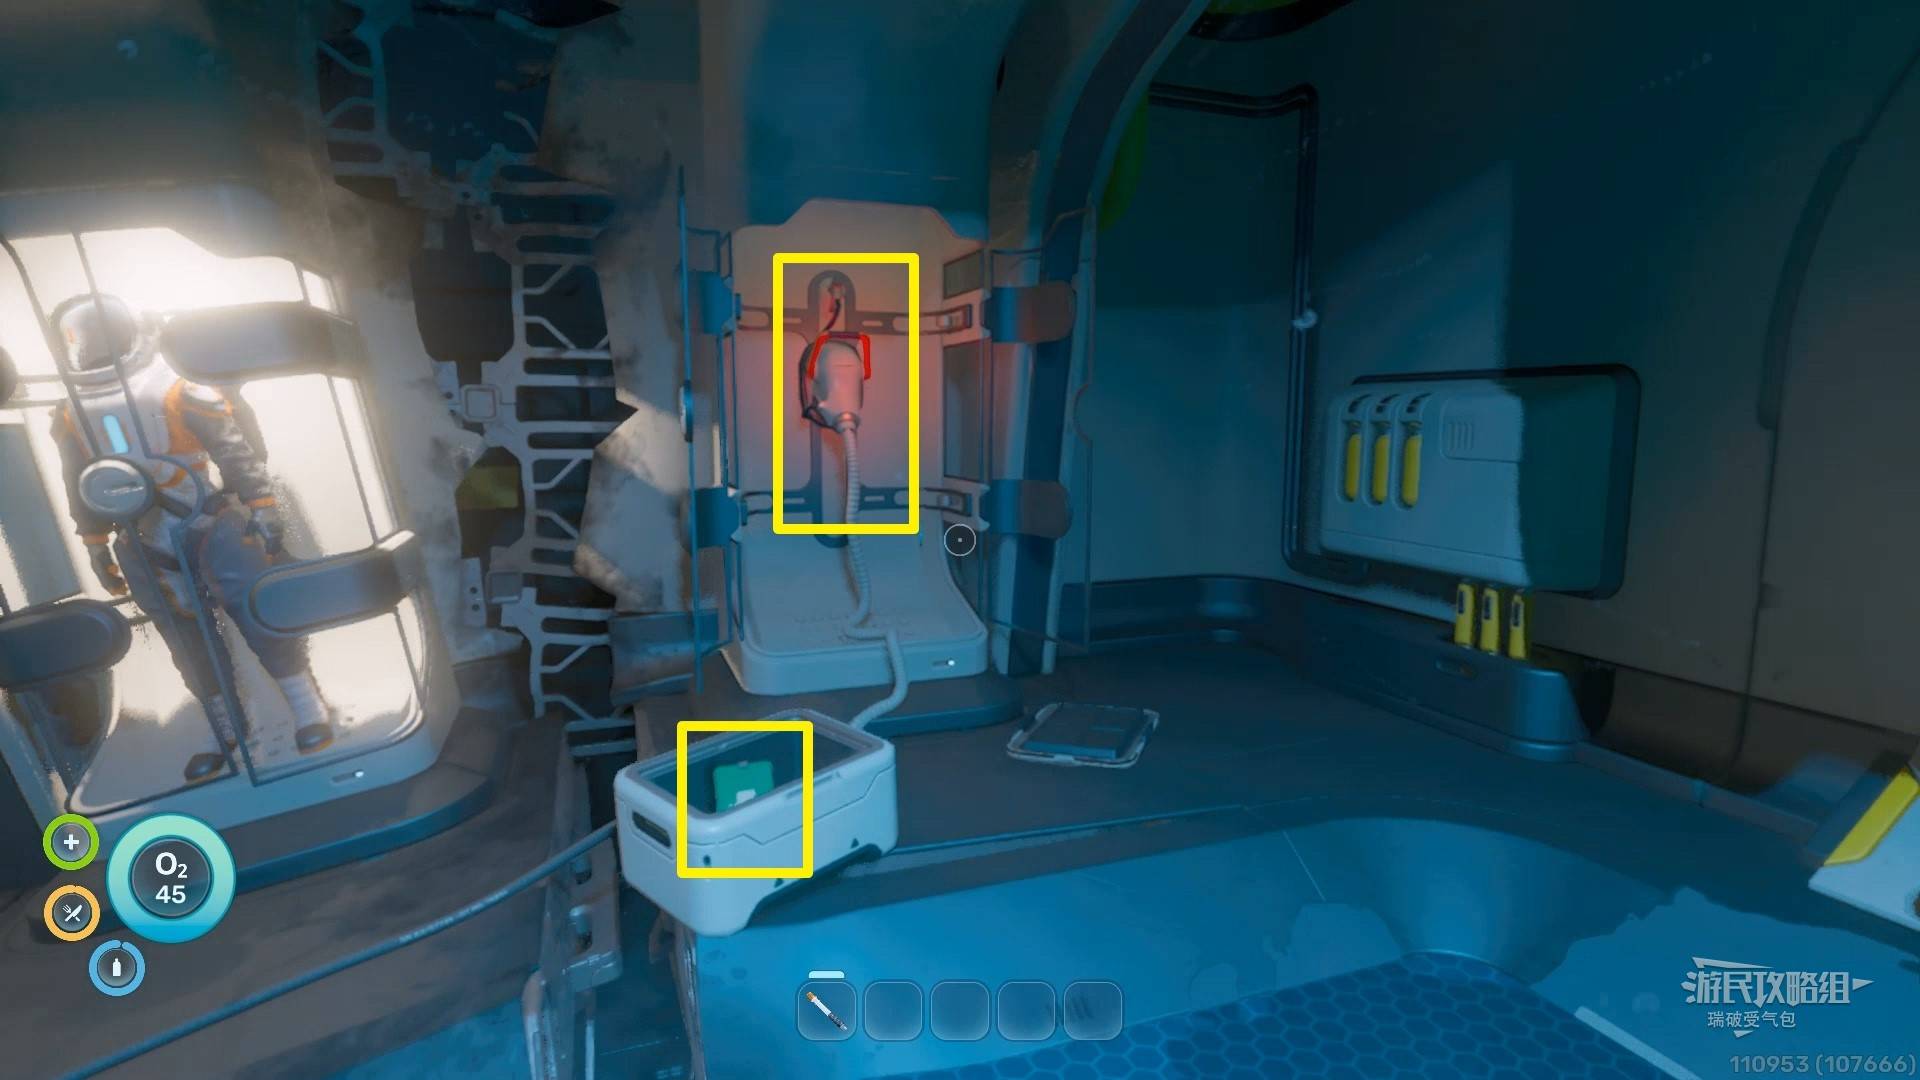
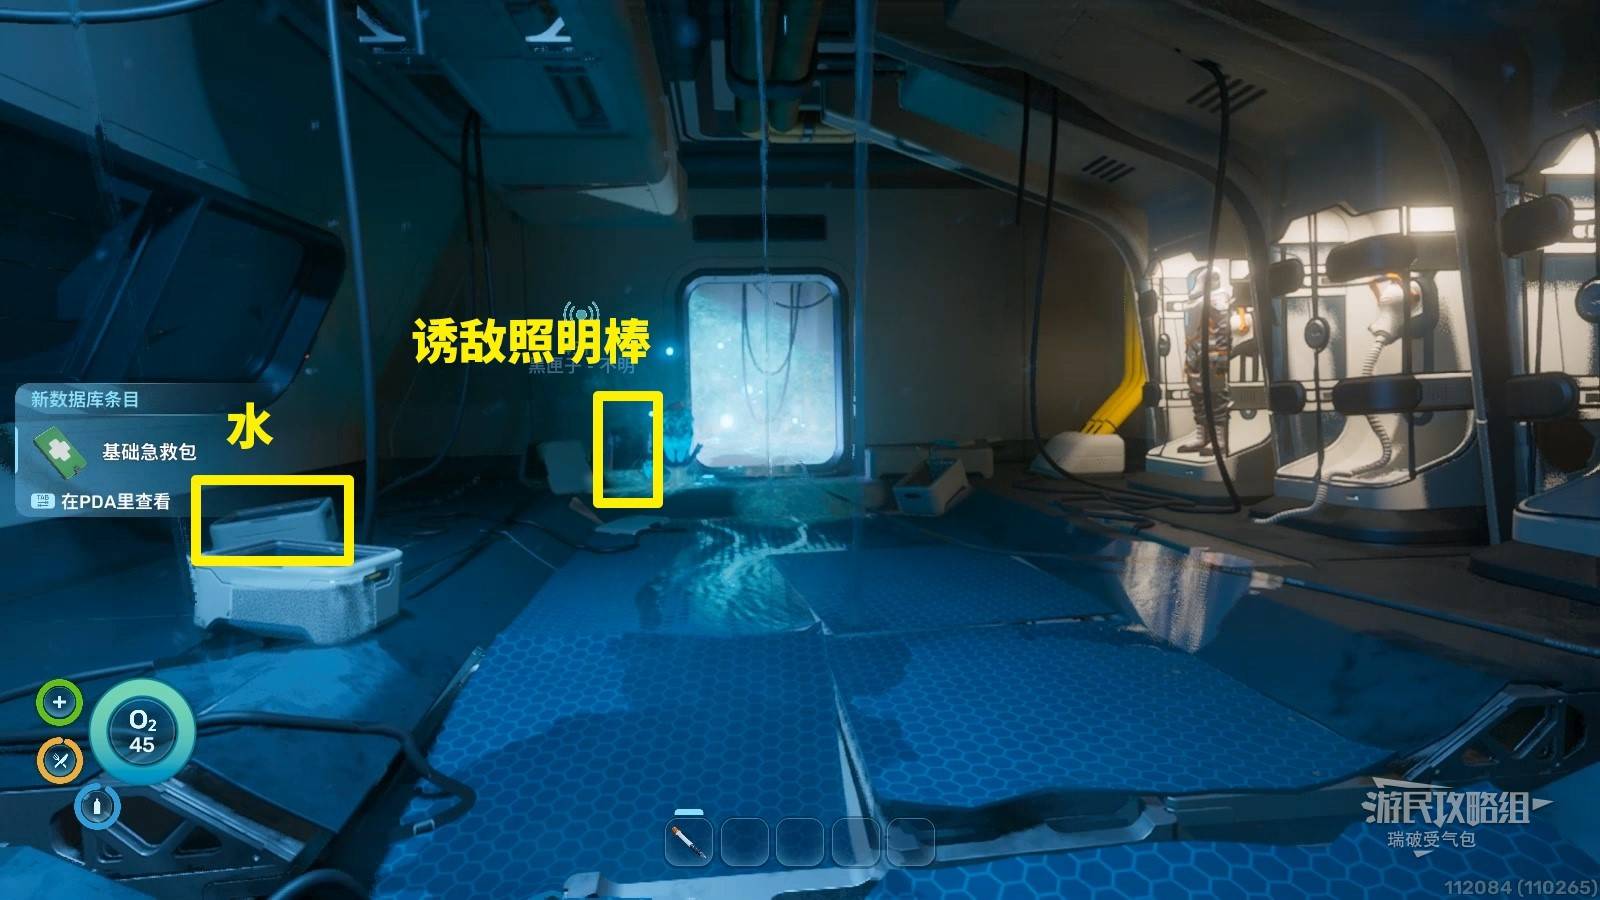
There’s a bottle of water in the box against the left wall, and another Decoy Flare in the box on the other side of the room.
Leave through the other door and jump into the water. Download the Exosuit directly below you.
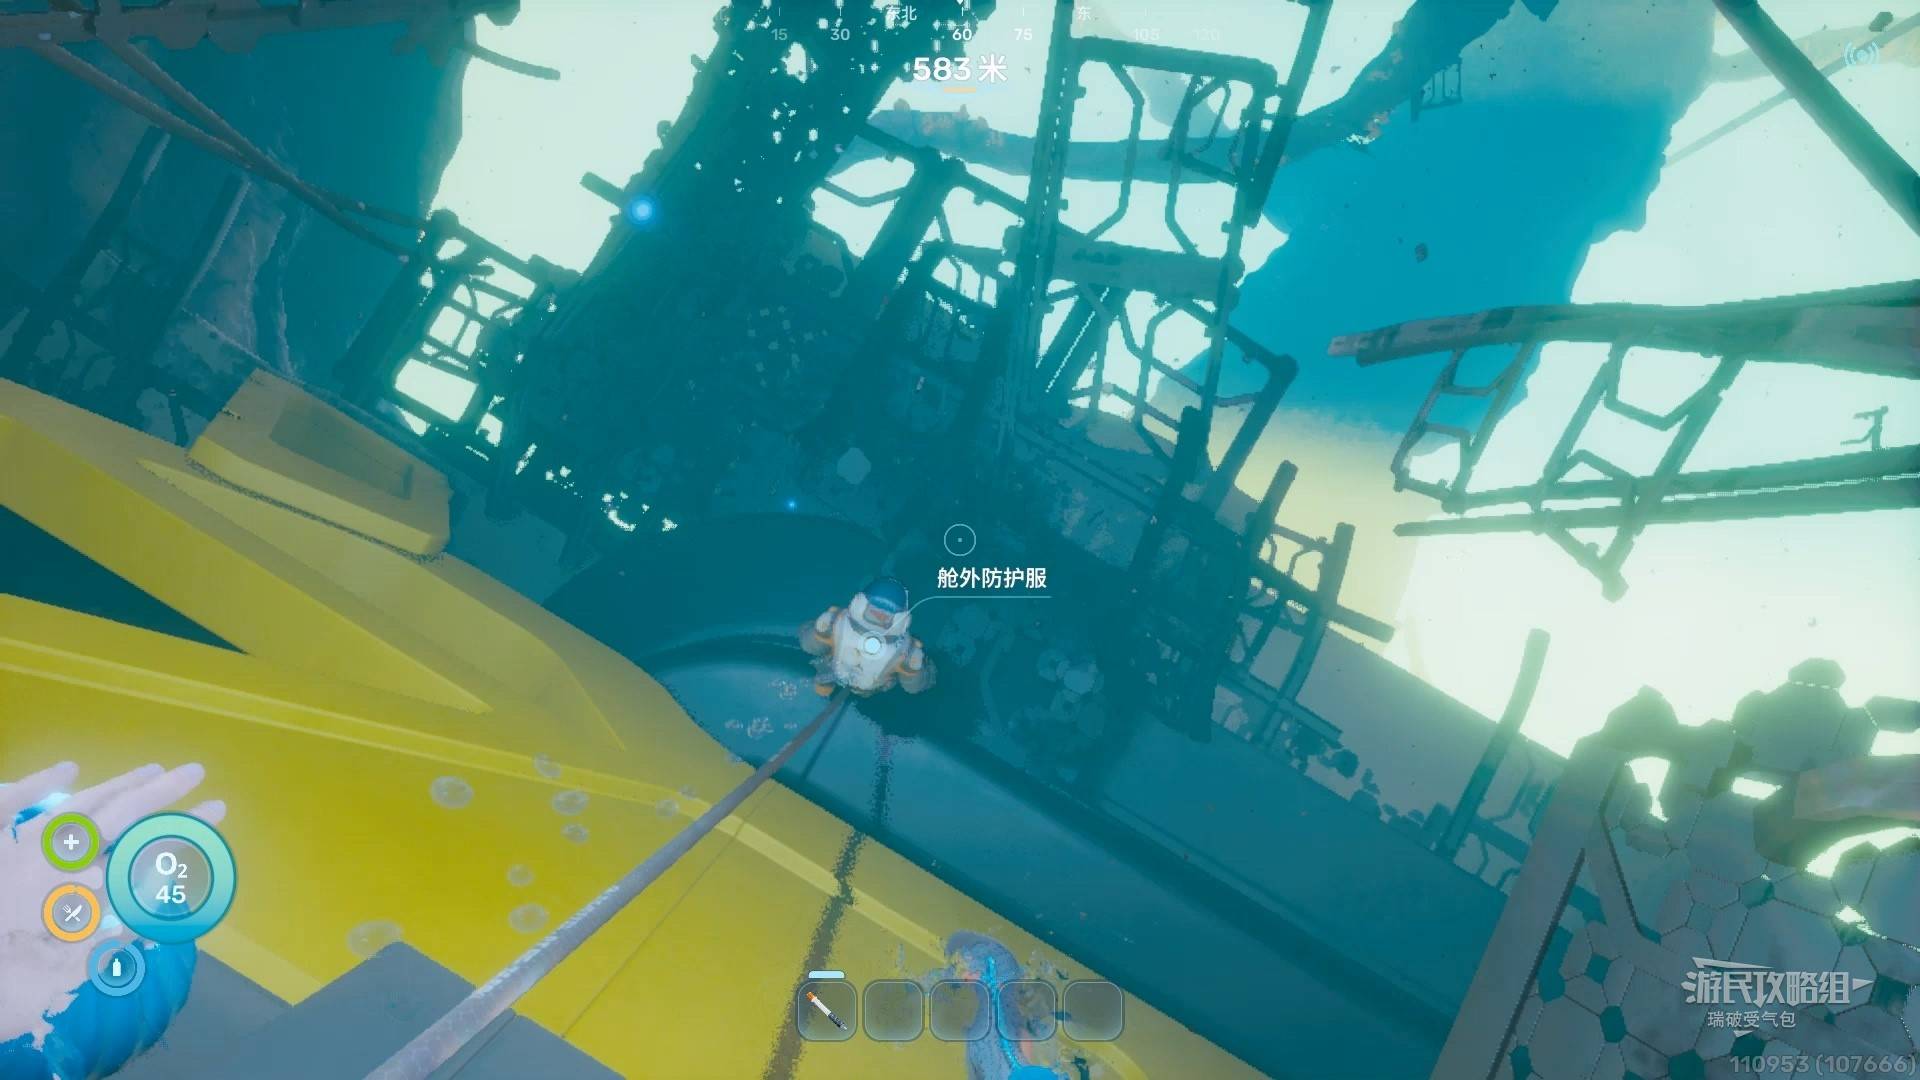
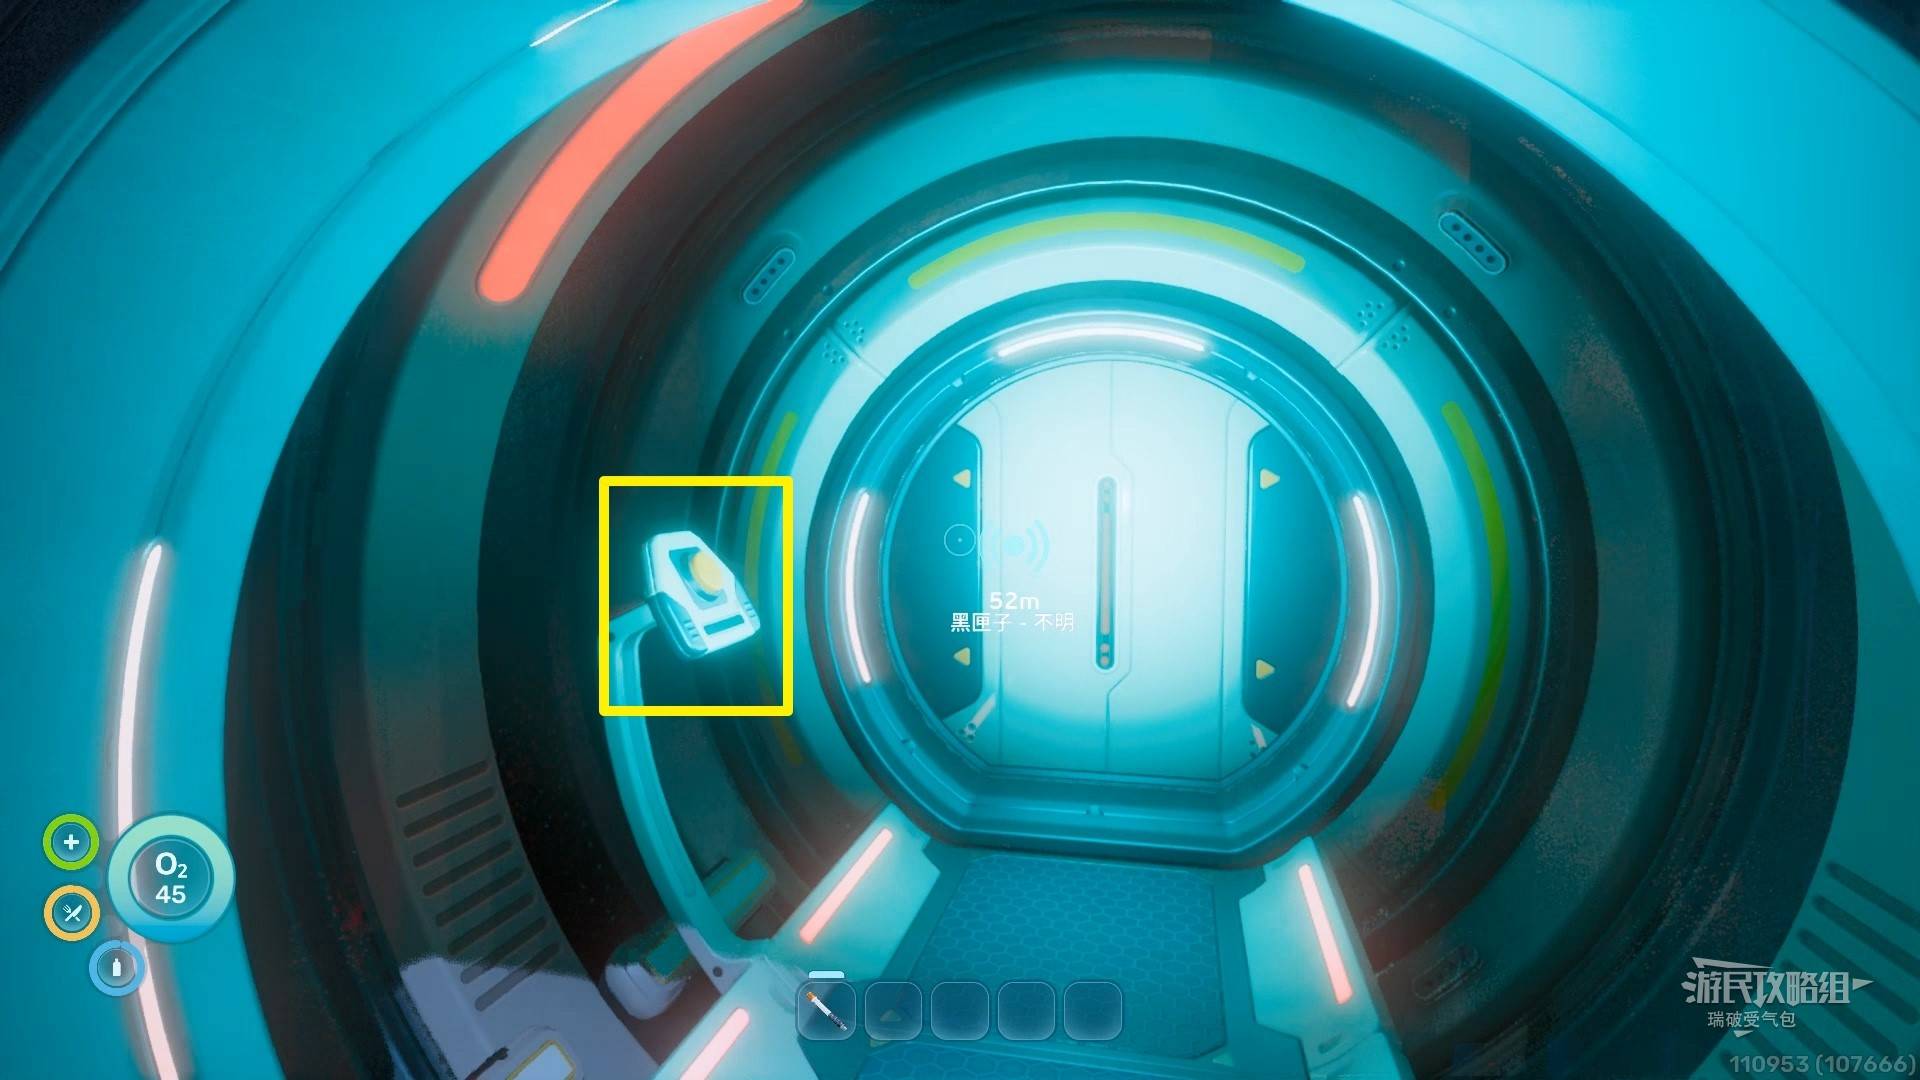
Look up and see the signal marker Black Box - Unknown (about 31m). Swim toward it.

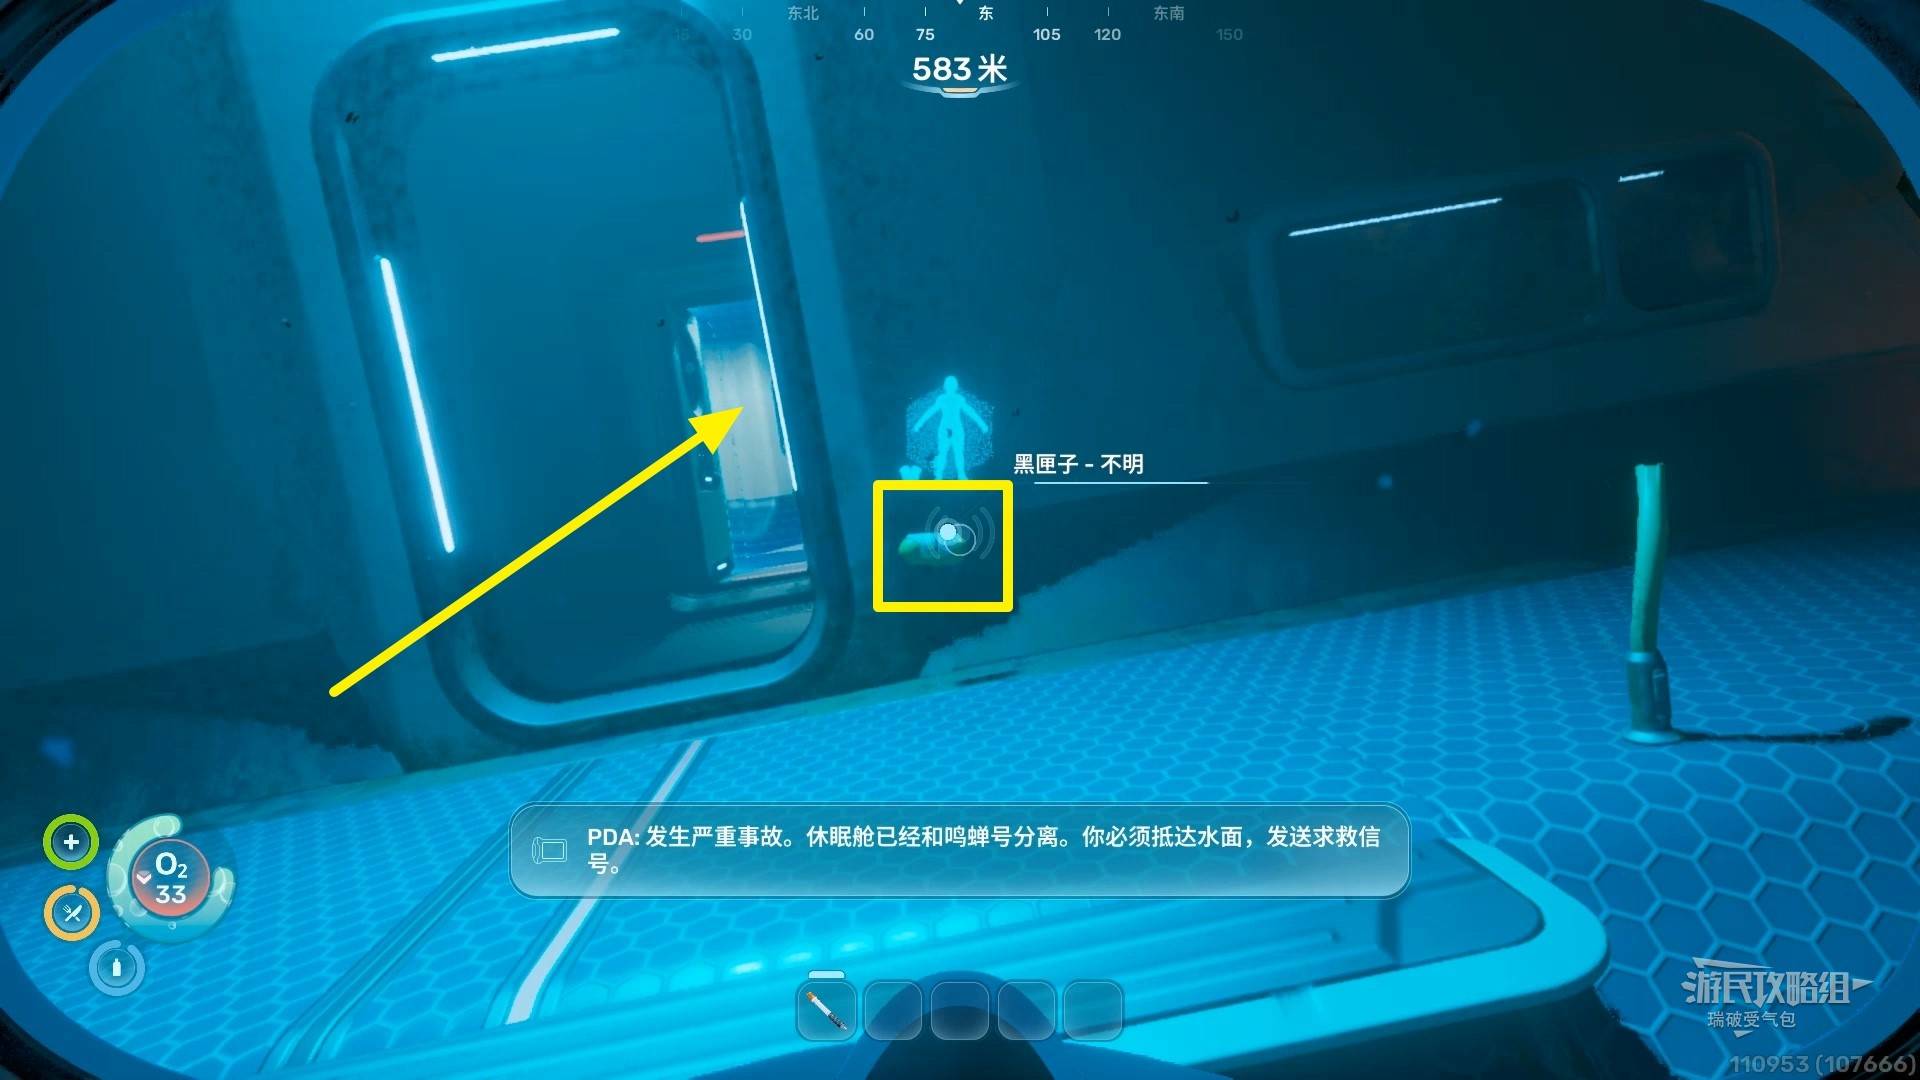
Pick up the Black Box - Unknown by the door and enter the lifepod. The pod has oxygen — replenish here.
Interact with the bed on the left wall to set your respawn point. Similar devices found later work the same way.
Interact with the NoA system on the right wall. Select Upload AI Advisor → Evaluate → Launch.

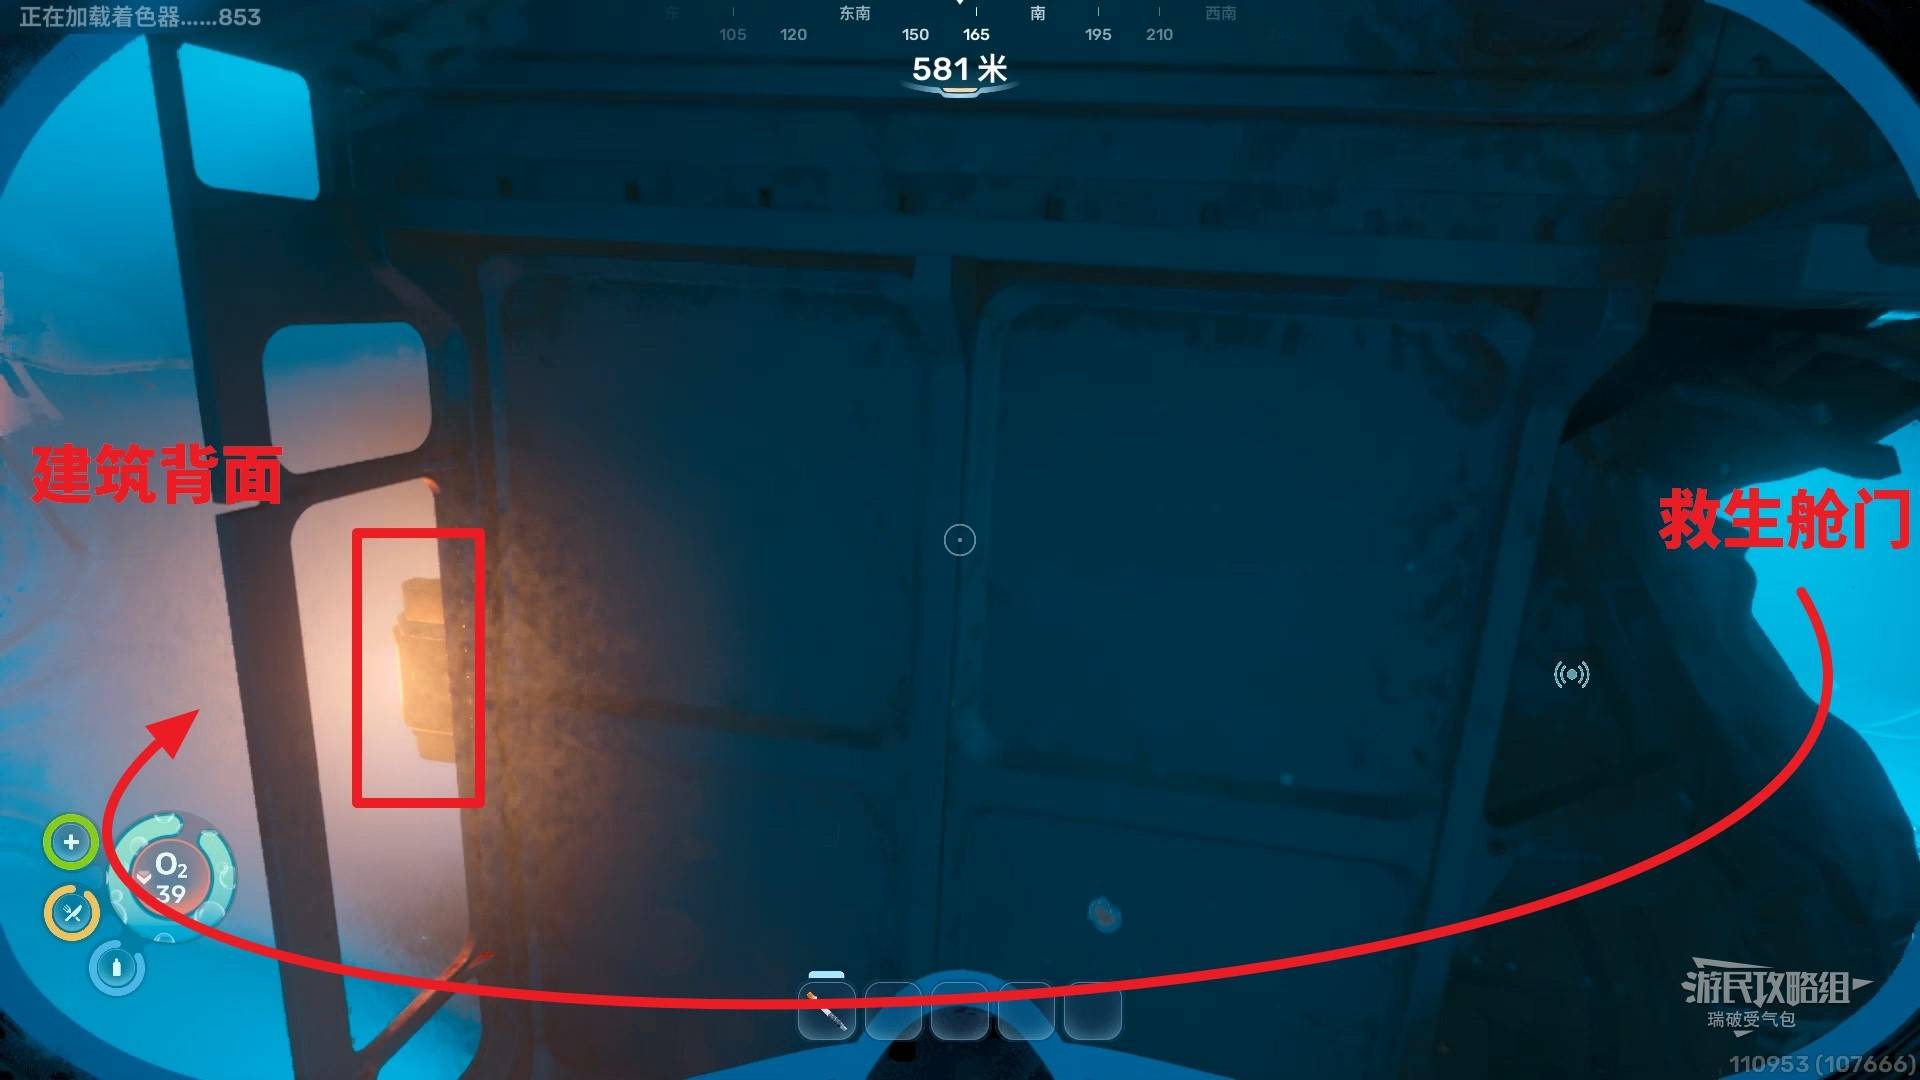
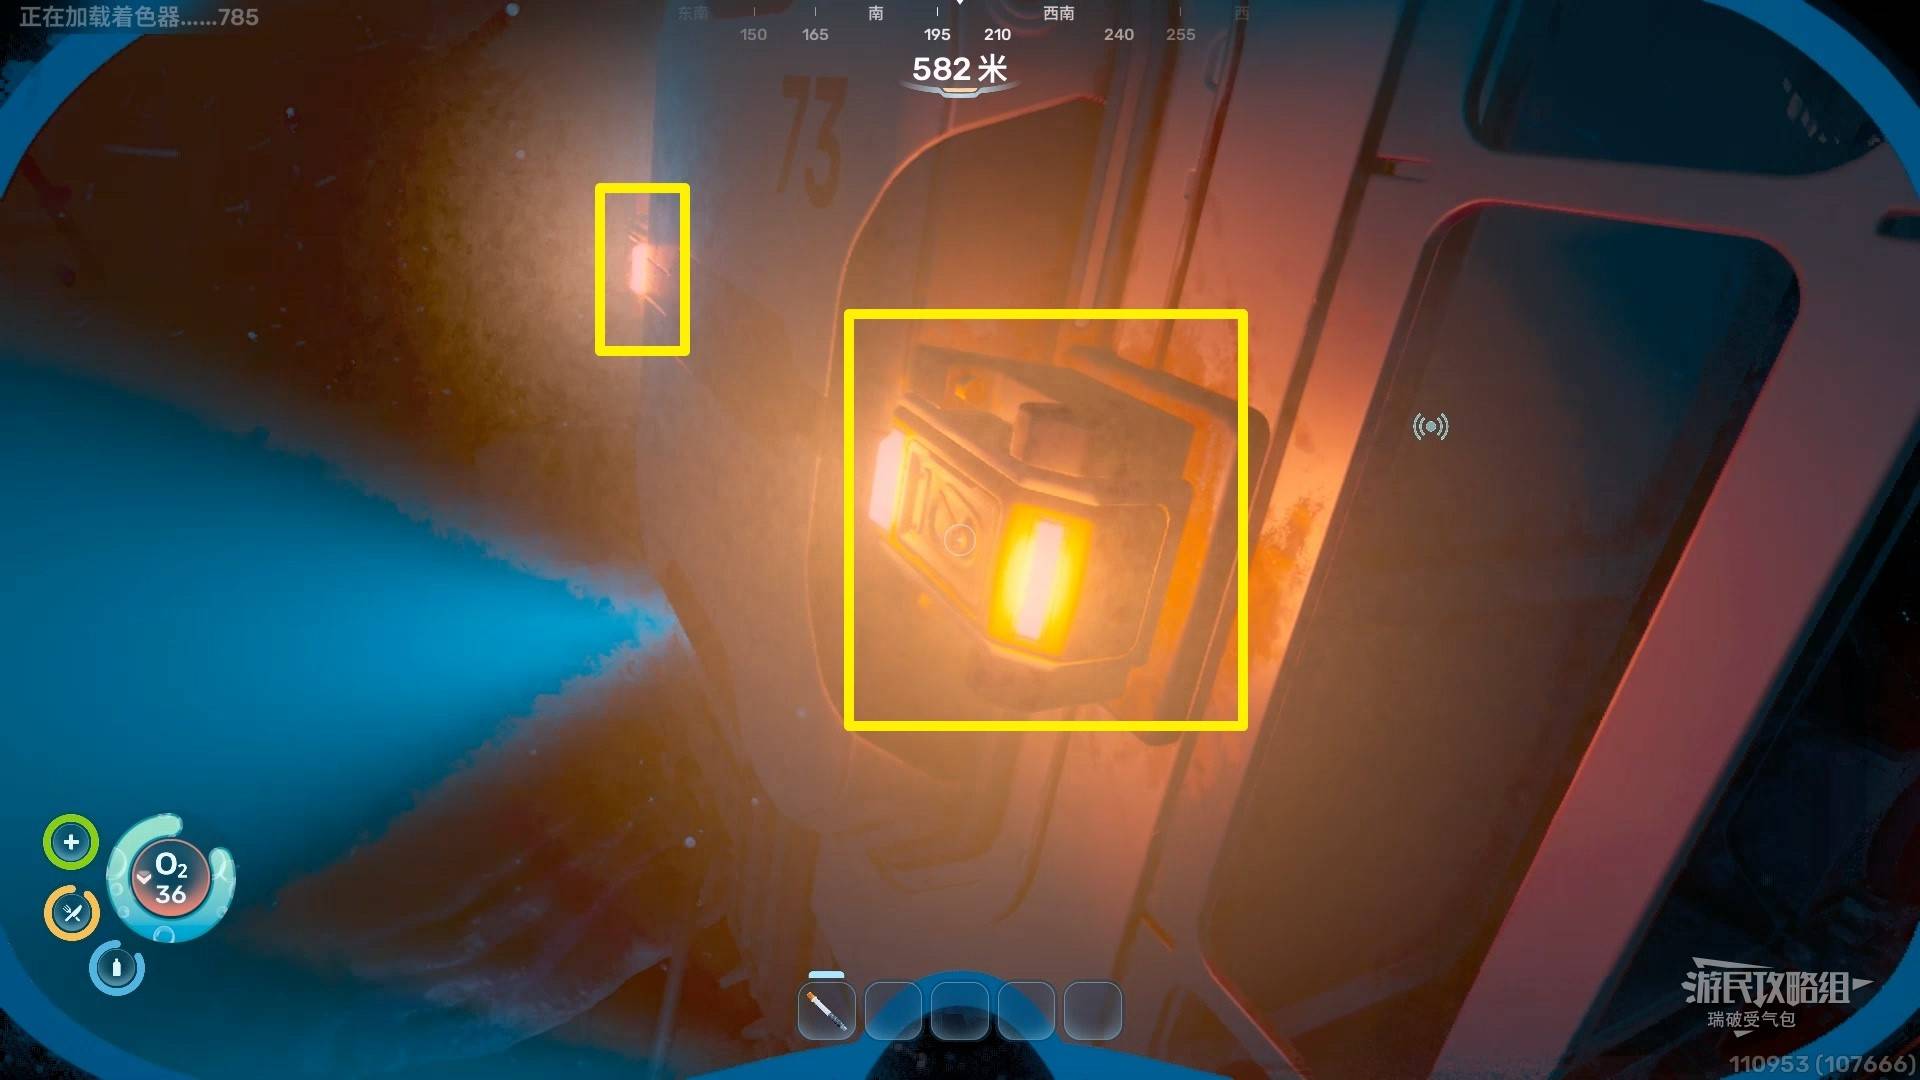
Leave the lifepod (fully refill oxygen first), go around to the back of the structure. Find two orange lights (with “73” on the wall between them) and pull both red levers.
Return inside the lifepod and interact with NoA again, selecting Launch.
After the cutscene, the basic tutorial is complete — you’re now free to explore!